

Zabbix is an open source suite of tools that monitor, analyze, and report statistics and problems on network devices, ranging from Windows PCs, Linux servers, to any switch accessible via SNMP, BSD firewalls, and even Zabbix itself. Templates exist for several systems such as Cisco IOS (both old and new Catalyst models), Windows Server, and VMware ESXI.
Zabbix is composed of the following applications:
- Zabbix Server acts as a daemon on a singular server or within a highly available cluster, brokering connections between a database (MySQL or PostgreSQL), Zabbix Agents, and Zabbix Frontend.
- Zabbix Agent is a system process that Zabbix Server monitors over port 10050.
- Zabbix Frontend is a service installed on a machine running Zabbix Server that provides a user interface in a webbrowser, from where new machines can be enrolled and be inspected / edited.
- Zabbix Proxy is a service that behaves similarly to Zabbix Server, exposing the same port and behavior as Zabbix Server, answering to a Zabbix Server or cluster. This can be used in networks that have complex layers and sections. A common usecase is to introduce a connection surface within an DMZ or gapped network.
There are a few other minor components such as Zabbix Sender, which have niche usages we will cover in another blog.
Installing Zabbix Server
Installing Zabbix on apt-based distros is fairly straight-forward. We’ll be assuming a Debian 12 virtual machine for the sake of this walkthrough. The first thing to do is add the Zabbix repository:
wget -O zabbix-repository.deb https://repo.zabbix.com/zabbix/6.4/debian/pool/main/z/zabbix-release/zabbix-release_6.4-1+debian12_all.deb
dpkg -i zabbix-repository.deb
apt update
wget is a utility that downloads files from an http(s) source. The first line saves the latest Zabbix repository (select the correct URL from the download page, as this link above may not be correct in the future). The next line with dpkg adds the repository to our system so that the apt package manager can find and fetch Zabbix binaries. apt update then refreshes the index.
The next thing to do is install these applications as well as our database and some utilities that are good to have.
apt install zabbix-server-mysql zabbix-frontend-php zabbix-apache-conf zabbix-sql-scripts zabbix-agent zabbix-sender zabbix-get mariadb-server vim apache2 python3.11-venvThis installs Zabbix Server, its frontend, an agent with which it monitors itself as a client, a set of configuration files for the Apache web server, the SQL scripts that the service requires, as well as Zabbix Sender and Zabbix Get which are CLI utilities that enable us to send and receive Zabbix analytics data through bash / Python scripting. We also install mariadb-server, vim for configuration editing (use nano if you wish), and a special package called Venv, which is responsible for the management of Python virtual environments. This is required whenever you install external Python libraries using Python’s PIP package manager – some Zabbix plugins / 3rd party template solutions are based on Python, such as our inhouse ZFS pool and CPU temperature detection. Note that mariadb is identical in 99% of usecases to thet original MySQL server, insofar as its bindings to other applications and syntax.
Configuring Zabbix Server (+ Frontend)
Once Zabbix’ packages have been installed, we configure the database and then start the system daemons to bring the server and its frontend online.
From a shell prompt, we enter MySQL’s terminal with the following:
mysql -uroot -pYou will be prompted to enter the root password of your server. From there, we create our database:
create database zabbix character set utf8mb4 collate utf8mb4_bin;
create user 'zabbix'@'localhost' identified by 'password';
grant all privileges on zabbix.* to 'zabbix'@'localhost';
set global log_bin_trust_function_creators = 1;
quit;
Note the bolded password. This is the password that Zabbix Server uses when connecting to the database, and will be stored in a config file. In a future update, we’ll demonstrate using a secrets vault, but for now this is fairly secure for intranet Zabbix deployments.
Also note that ‘zabbix’ and ‘localhost’ are in single quotes in the user lines. Official guidelines do not specify this, but from experience I’ve determined that this is necessary and that without doing this the initial setup will fail. My theory is that this differs distro to distro or potentially that it’s related to the encoding of the database.
After doing this, we’ve created the database itself, but we haven’t set its schema. The schema for Zabbix is quite massive, so rather than do so by hand, we use a built-in shell command zcat to populate the schema tables. Make a note of the set global log_bin_trust_function_creators line in the MySQL code above – we’ll be resetting this after the schema is defined.
When we installed zabbix-sql-scripts, this put a compressed schema file in the usr share directory.
zcat /usr/share/zabbix-sql-scripts/mysql/server.sql.gz | mysql --default-character-set=utf8mb4 -uzabbix -p zabbix Notice that this time, the -u flag of the mysql command is set to zabbix, not root. This means we’re authenticating not with the default Linux user but with the ‘zabbix’@’localhost’ user we created in MySQL previously, and therefore we’ll need that password instead. You will be prompted here.
NOTE: Zcat has no stdout display while it’s being piped to MySQL, which means that there’s no visual cue that this process is working. It will appear to hang for upwards of 10 minutes on slow servers, but it is NOT hanging, it’s just taking a long time. Allow this process to execute and complete. You will know that it’s done when the command prompt unlocks and gives you the standard root@server > shell directive.
After this is done, reopen MySQL as done earlier and turn off log_bin_trust_function_creators:
set global log_bin_trust_function_creators = 0;The last step before we switch to the frontend is to specify the DBPassword in /etc/zabbix/zabbix_server.conf:
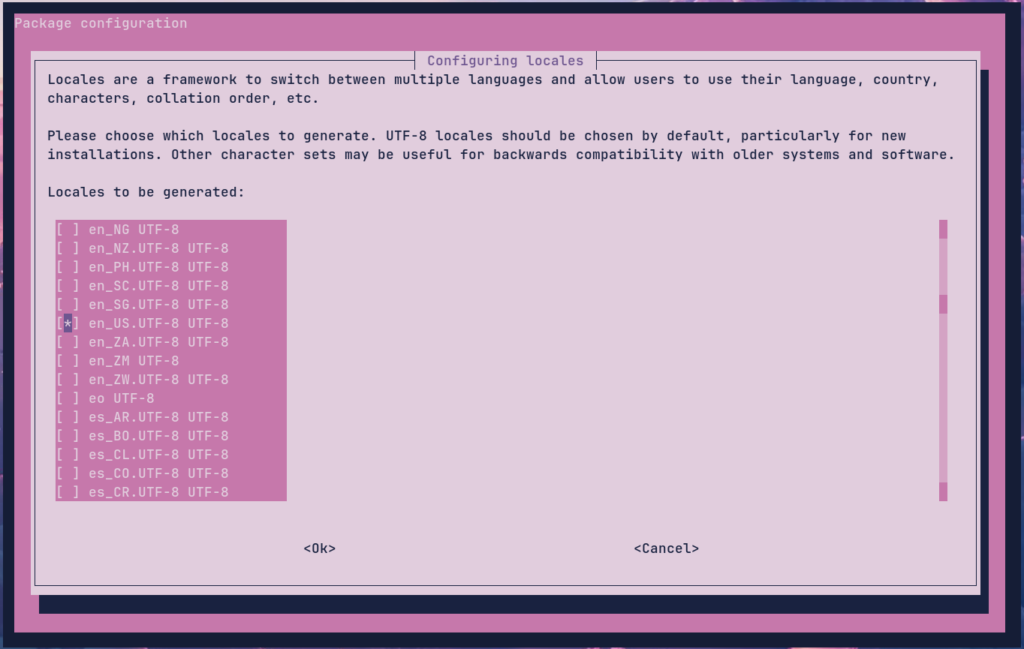
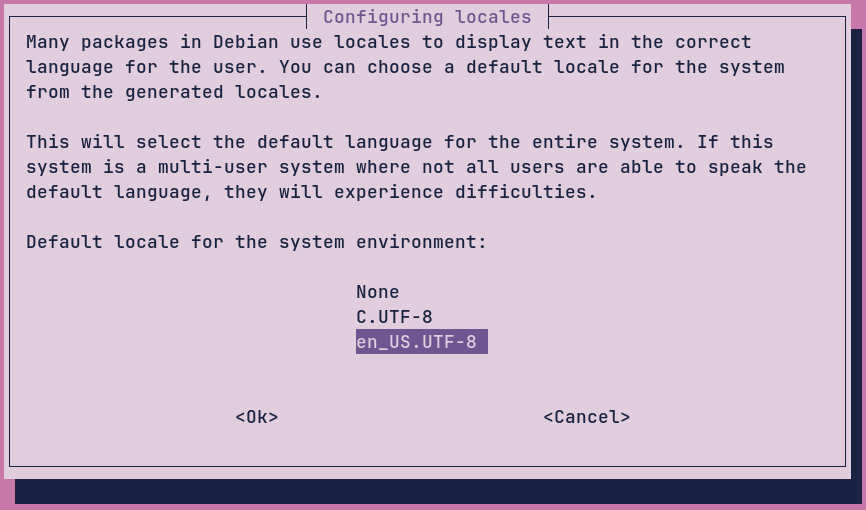
DBPassword=[database password specified in MySQL terminal previously.]A minor caveat: this is something that the official guides do not indicate. The frontend uses Linux locale files to determine certain aspects of its text rendering. By default, this is en_US.UTF-8. Debian does not come with these locale files. Ubuntu may not either, I am unsure. The solution is, before we start the daemon, to run dpkg-reconfigure locales:
Now we start the daemons:
systemctl enable zabbix-server zabbix-agent apache2
systemctl start zabbix-server zabbix-agent apache2
Configuring Zabbix from the frontend
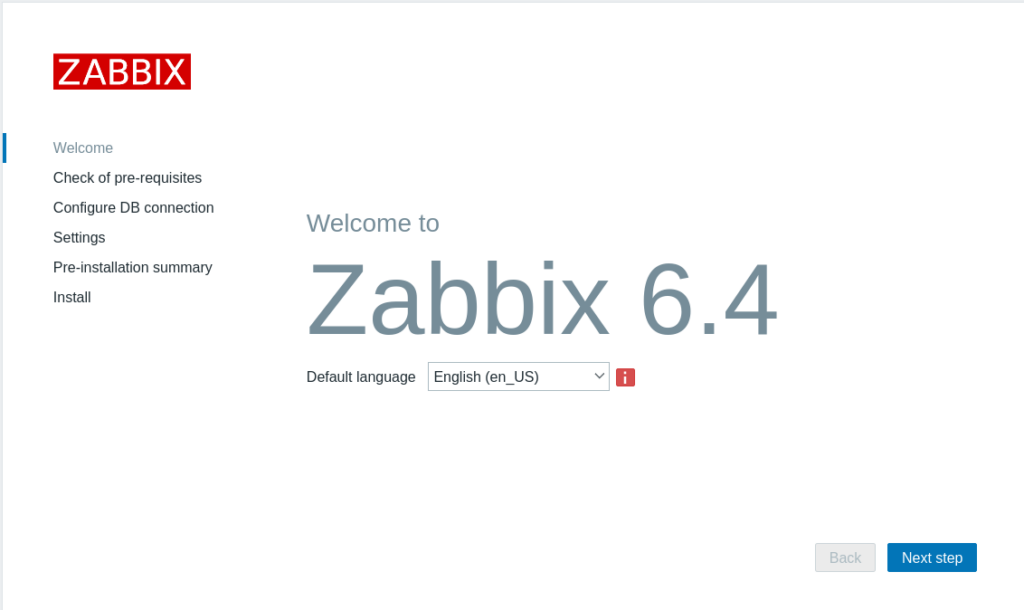
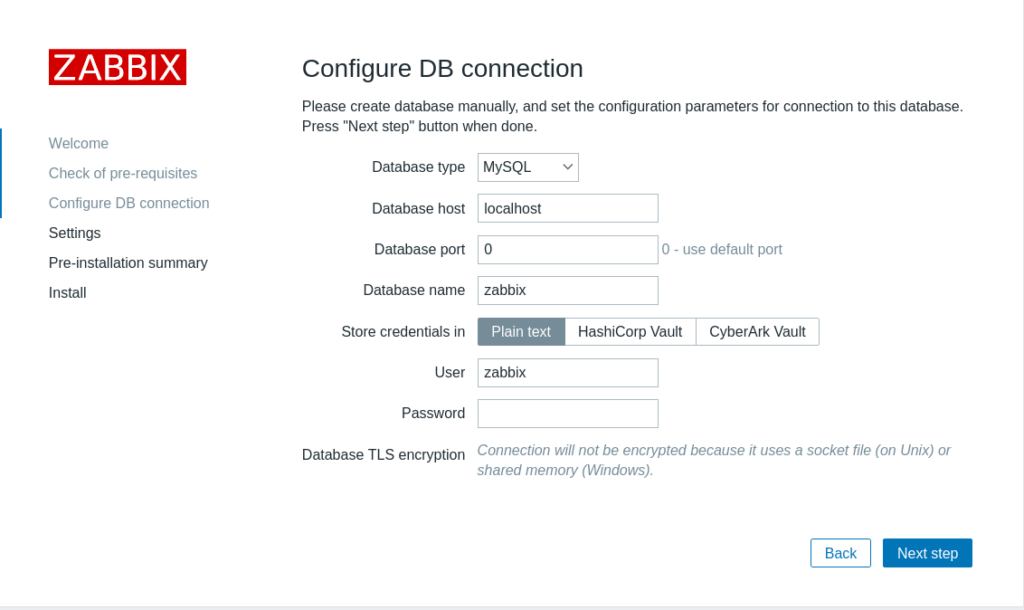
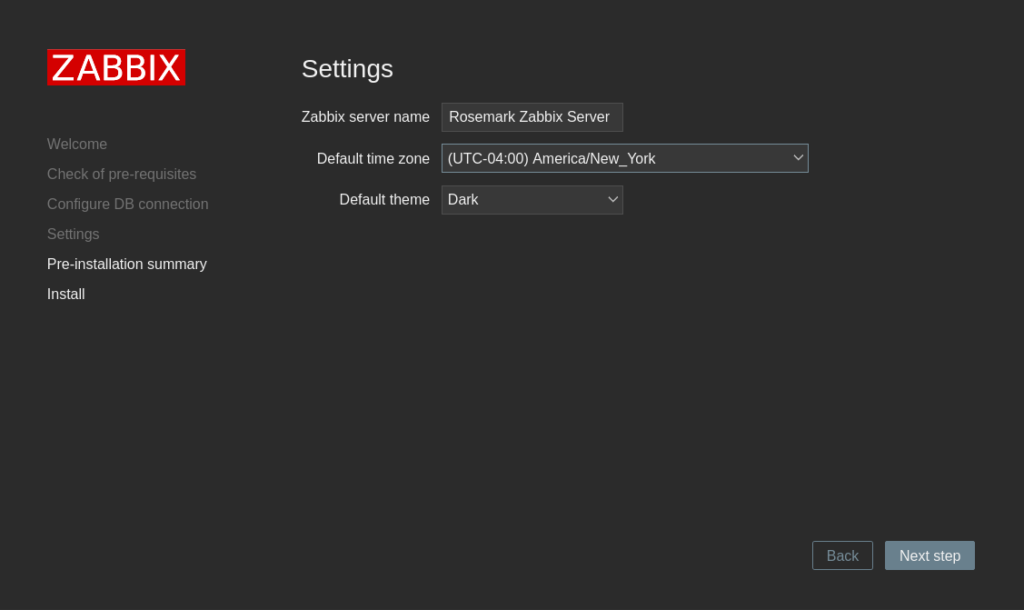
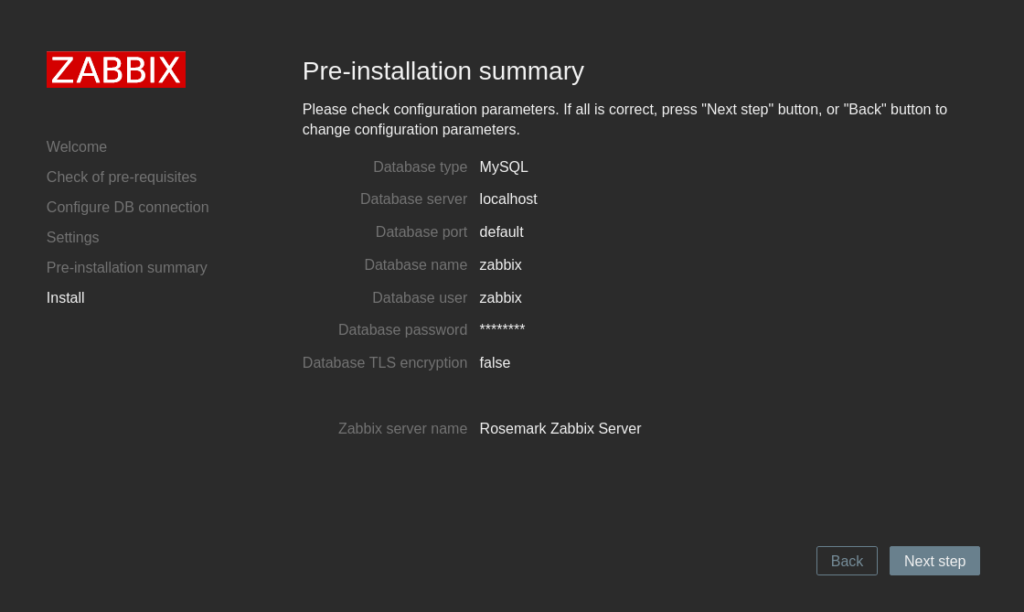
Open up a web browser and navigate to http://[server_IP]/zabbix/. You will be greeted with the following screen:
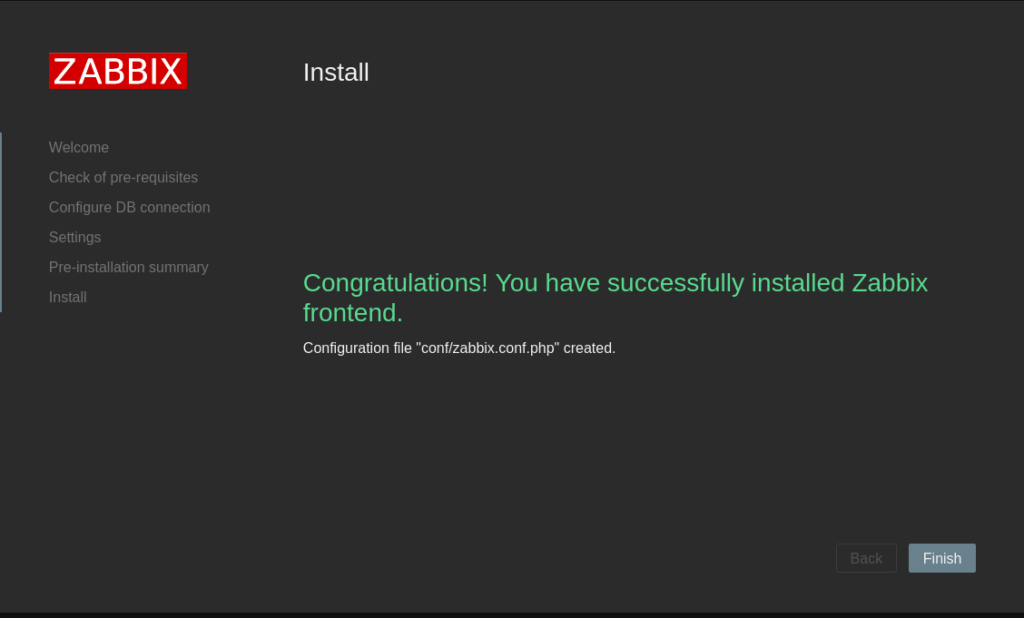
Creating a Zabbix user
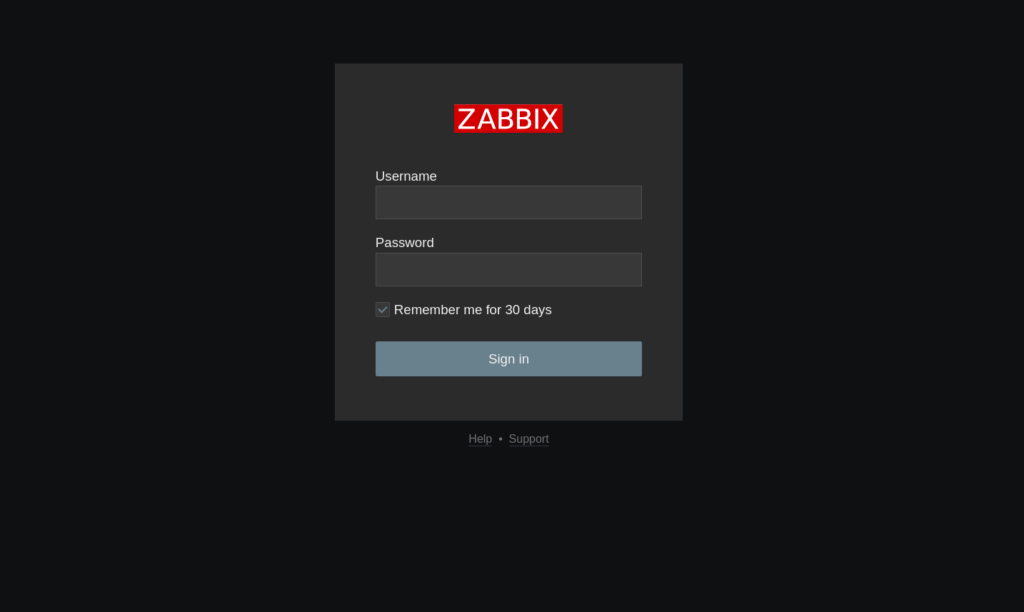
Once the server is finished installing, when we reload the page, we’re prompted with this. The default login for the frontend is Admin / zabbix.
Once logged in, we’ll want to create a new user with a secure password and email address. On the sidebar on the left, we have various tabs. Select the Users tab, expand it, and select the Users subheading.
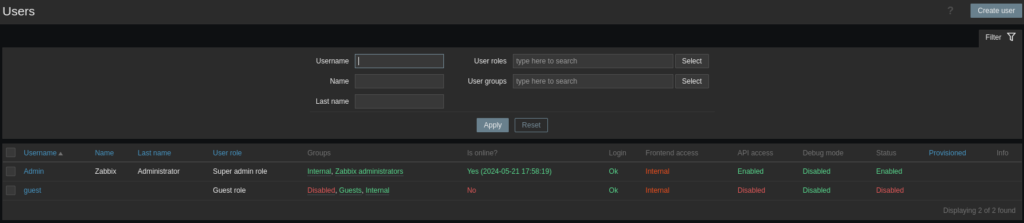
Select Create User in the top right corner.
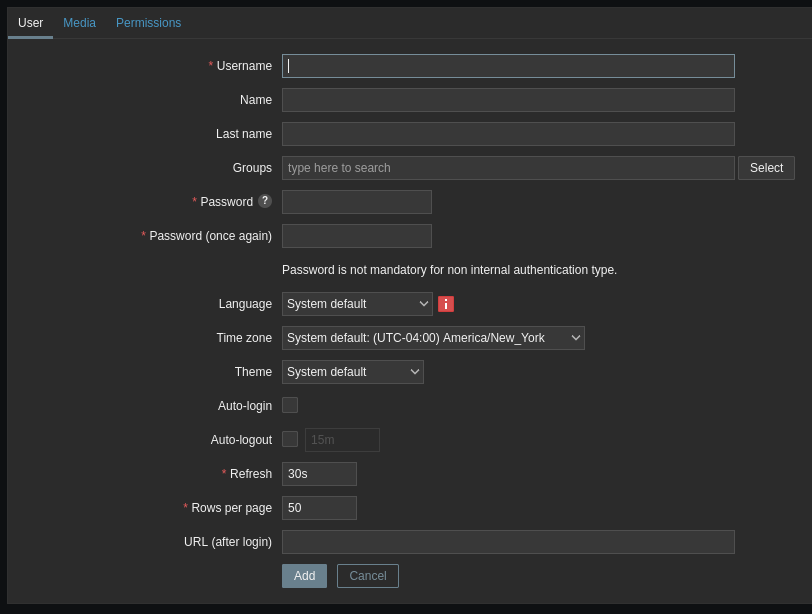
Fill the username (the system username), the Name and Last Name (display, contact), enter its password, and choose Zabbix Administators from the selection dialogue in the group field.
Make note of the Media tab. We can’t use it right now, but we’ll come back here after the next step. Move on to Permissions and select a role:
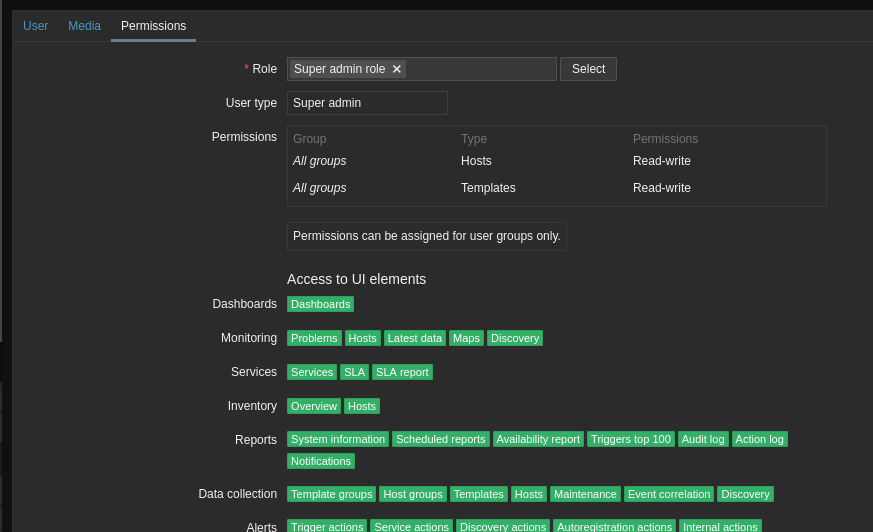
Press Add at the bottom.
You can now logout and log in as our new Superadmin.
Adding email alerts
All this is fine and dandy, but right now, were we to be monitoring some machines, we wouldn’t have any way of getting information from Zabbix when the service detects an error or warning. We need to introduce a media type, which defines a communication protocol to send emails to our different users’ emails. Let’s add an email server:
Navigate to the media definitions page at Alerts -> Media types. From here, we see a list like this:
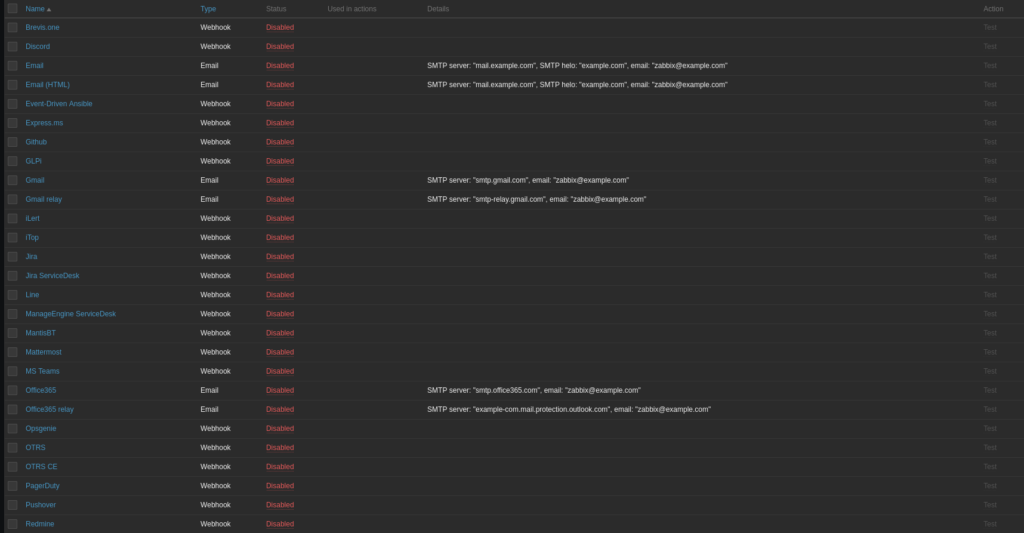
There are A LOT OF OPTIONS here, lots of really unique stuff. For now select Email (HTML).

The exact settings will differ depending on your setup. Once you have an email server configured, press update. Make sure enabled is checked.
Now, go back to the user we created earlier and go to its media tab:
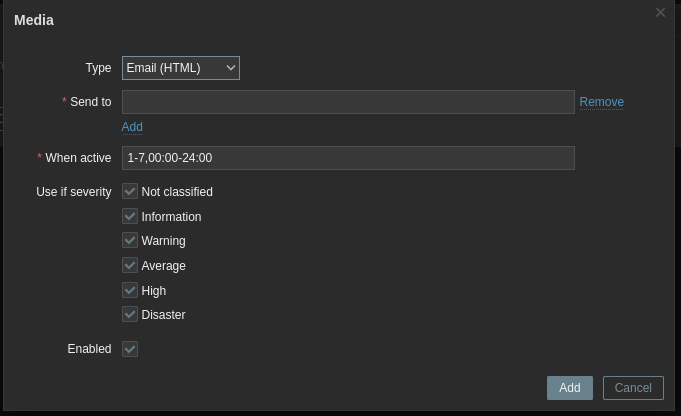
Set the user’s email in the Send to field. Customize which alert types and times you want to receive alerts for if you wish.
Zabbix server itself is all set up now! There’s a lot more to cover involving hosts – we’re not monitoring anything but Zabbix itself! – and templates and triggers and external services like our ZFS monitoring, which we’ll cover in the next article.
author@rosemarkblog ~ whoami
Hi, my name’s Maeve Banks. I write and edit configuration guides, research adventure notes, cautionary tales, and youshouldknowthis articles for the Rosemark blog. I’m a system administrator with a special interest in creating custom featured solutions for certain tasks using FOSS software like Python. I also run a Linux homelab and enjoy learning new things about networking. If you have any questions about the content of this blog entry or requests / suggestions for future entries, you can reach me at maevebanks.ky@gmail.com, or by commenting below on this blogpost.